How to Effectively Use a Wall Hole Saw for Professional Results
In the realm of professional construction and renovation, the precision and effectiveness of tools can significantly impact the quality of the finished product. Among these, the Wall Hole Saw stands out as an essential instrument for creating clean, round holes in various materials, crucial for tasks ranging from plumbing to electrical installations. According to a recent industry report by Market Research Future, the global market for power tools, including specialized saws, is projected to reach approximately $50 billion by 2025, highlighting the increasing reliance on advanced tools in professional settings. Mastering the use of a Wall Hole Saw not only enhances efficiency but also ensures superior results that meet industry standards. This guide aims to provide techniques and best practices to harness the potential of this tool, ensuring that professionals achieve impeccable results every time they tackle wall penetration projects.
Choosing the Right Wall Hole Saw for Your Project Needs
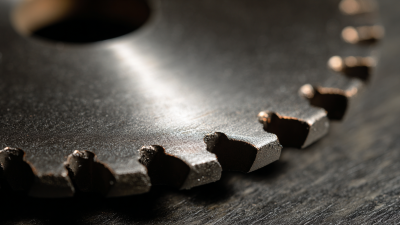
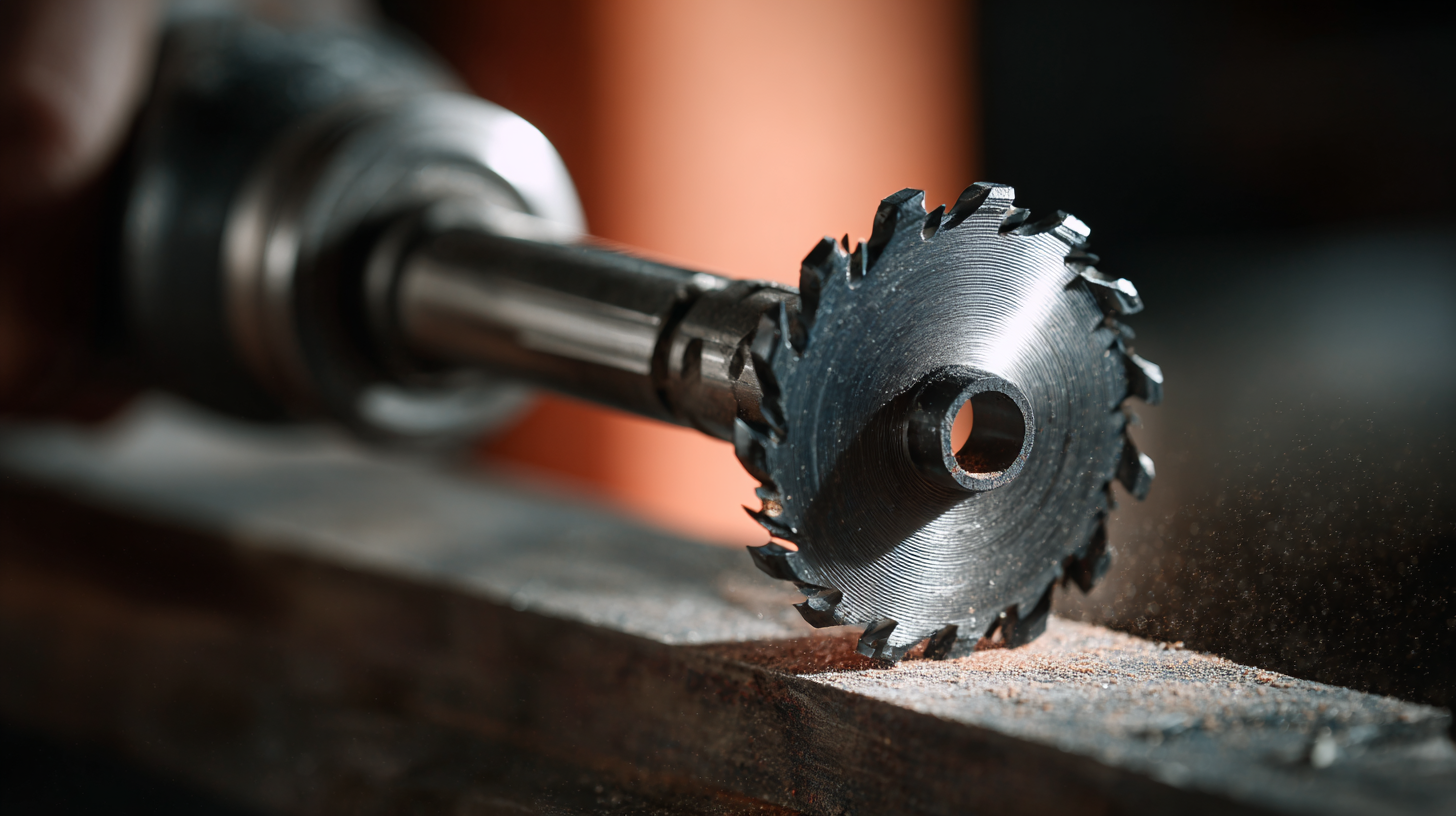
When embarking on a project that involves cutting through walls, selecting the right wall hole saw is crucial for achieving professional results. The first step is to assess the material of the wall – whether it's drywall, plaster, or masonry will influence the type of saw you need. For softer materials like drywall, a standard hole saw with bi-metal construction is typically sufficient, while tougher materials such as concrete may require a diamond-tipped or carbide-tipped saw for efficient cutting.
Additionally, consider the size of the hole you need to create. Wall hole saws come in various diameters, and using the correct size will not only ensure a clean cut but also minimize the need for additional finishing work. It's also important to evaluate the depth of cut required. Some wall hole saws feature adjustable cutting depths, giving users flexibility for different project specifications.
By carefully selecting the right wall hole saw tailored to your specific needs, you can enhance your efficiency and ensure cleaner, more professional results in your wall cutting endeavors.
Preparing Your Drill and Work Area for Optimal Performance
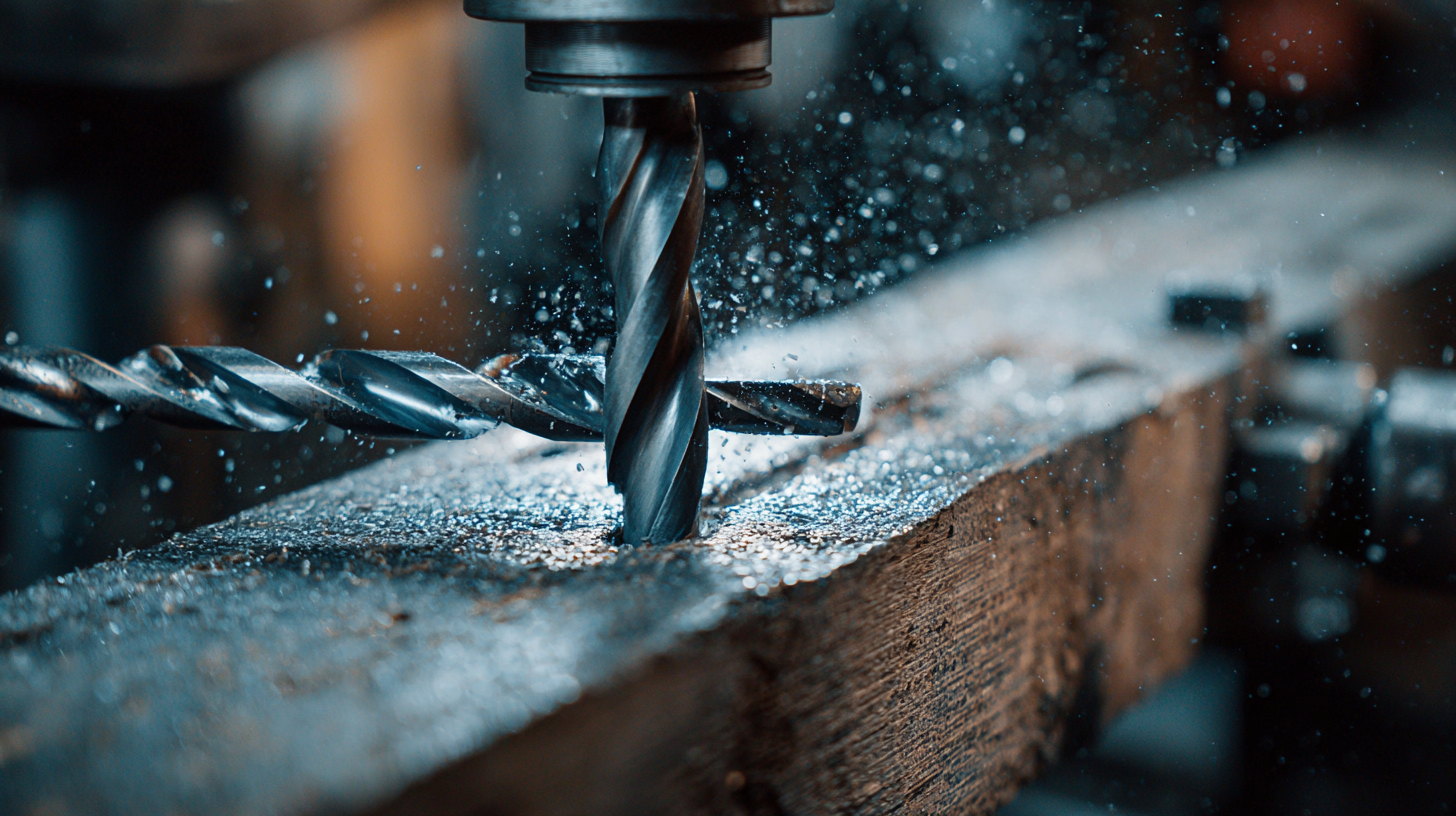
To achieve professional results when using a wall hole saw, the preparation of both your drill and work area is crucial. According to a report from the International Society of Automation, inadequate preparation can lead to a 30% increase in project time and can compromise the quality of the cut. Ensuring your drill is in optimal condition is a key factor; this means checking for worn bits, proper torque settings, and the right drill speed. For wall hole saws, a steady speed around 200 to 400 RPM is generally most effective, depending on the material, which can significantly reduce the risk of overheating and damaging both the tool and the work surface.
In addition to equipment preparation, your work environment should also be pristine to enhance performance. The Occupational Safety and Health Administration (OSHA) highlights that cluttered workspaces can lead to accidents, which may result in a 25% increase in work-related injuries. Clearing the area of any unnecessary tools and obstructions not only promotes safety but also allows for better maneuverability with your drill. Moreover, proper lighting is essential, as adequate visibility can improve precision, reducing the likelihood of mistakes. Taking these steps will not only prepare you for using a wall hole saw effectively but will also lay the foundation for working safely and efficiently on any project.
How to Effectively Use a Wall Hole Saw for Professional Results - Preparing Your Drill and Work Area for Optimal Performance
| Dimension |
Details |
| Wall Material |
Drywall, Masonry, Wood |
| Hole Saw Diameter |
1 inch, 2 inch, 3 inch |
| Recommended RPM |
500 - 1000 RPM |
| Drill Type |
Corded Electric, Battery-Powered |
| Safety Gear |
Safety Glasses, Dust Mask, Ear Protection |
| Preparation Steps |
Mark the cutting area, ensure stability, gather tools |
| Post-Cutting Procedure |
Clean debris, inspect hole for rough edges |
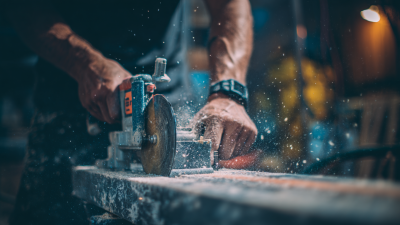
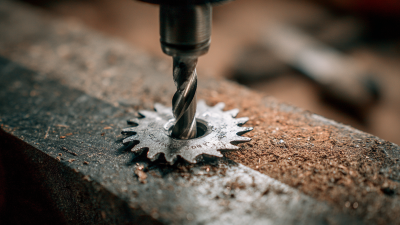
Step-by-Step Guide to Using a Wall Hole Saw Safely
When using a wall hole saw, safety should be your top priority. Begin by gathering all necessary safety equipment, including goggles, gloves, and a dust mask to protect against debris and dust. Before starting, ensure that your workspace is clear and that you’re aware of any electrical wires or plumbing behind the wall. Double-check with a stud finder to prevent accidents.
Once you’re ready, mark the area where you plan to cut clearly. Use a level to ensure your markings are straight, which will help produce a professional-looking finish. When drilling, maintain a steady pace and apply even pressure on the drill to avoid binding or damaging the saw. It’s advisable to drill at a moderate speed to avoid overheating the tool.
Remember to frequently check your progress and clean out any debris from the hole to ensure efficiency and visibility. Following these steps will help you achieve not only a safe working environment but also a polished result.
Tips for Achieving Clean and Precise Holes in Different Materials
Using a wall hole saw can significantly enhance your ability to create clean and precise holes in various materials, but achieving professional results requires some attention to detail. Before you begin, it’s essential to select the right hole saw for the material you are working with, whether it’s drywall, wood, or masonry. Using the appropriate size and type will ensure a smoother cutting experience and better results.
**Tips for Achieving Clean and Precise Holes:**
Firstly, always mark your drill point clearly and use a center punch to create a small indentation. This will help guide the drill bit and prevent it from wandering as you start to cut. For softer materials like drywall or wood, using a pilot bit before engaging the hole saw can provide greater accuracy. Additionally, maintaining a steady speed while drilling will minimize the chances of the saw binding or overheating.
When working with tougher materials, such as tile or concrete, consider using a lubricant to reduce friction and aid in smoother cutting. Applying consistent pressure rather than forcing the saw through can also yield cleaner holes. Regularly clearing out debris from the saw teeth during the process will prevent any buildup that could affect the cut quality and allow for more efficient drilling.
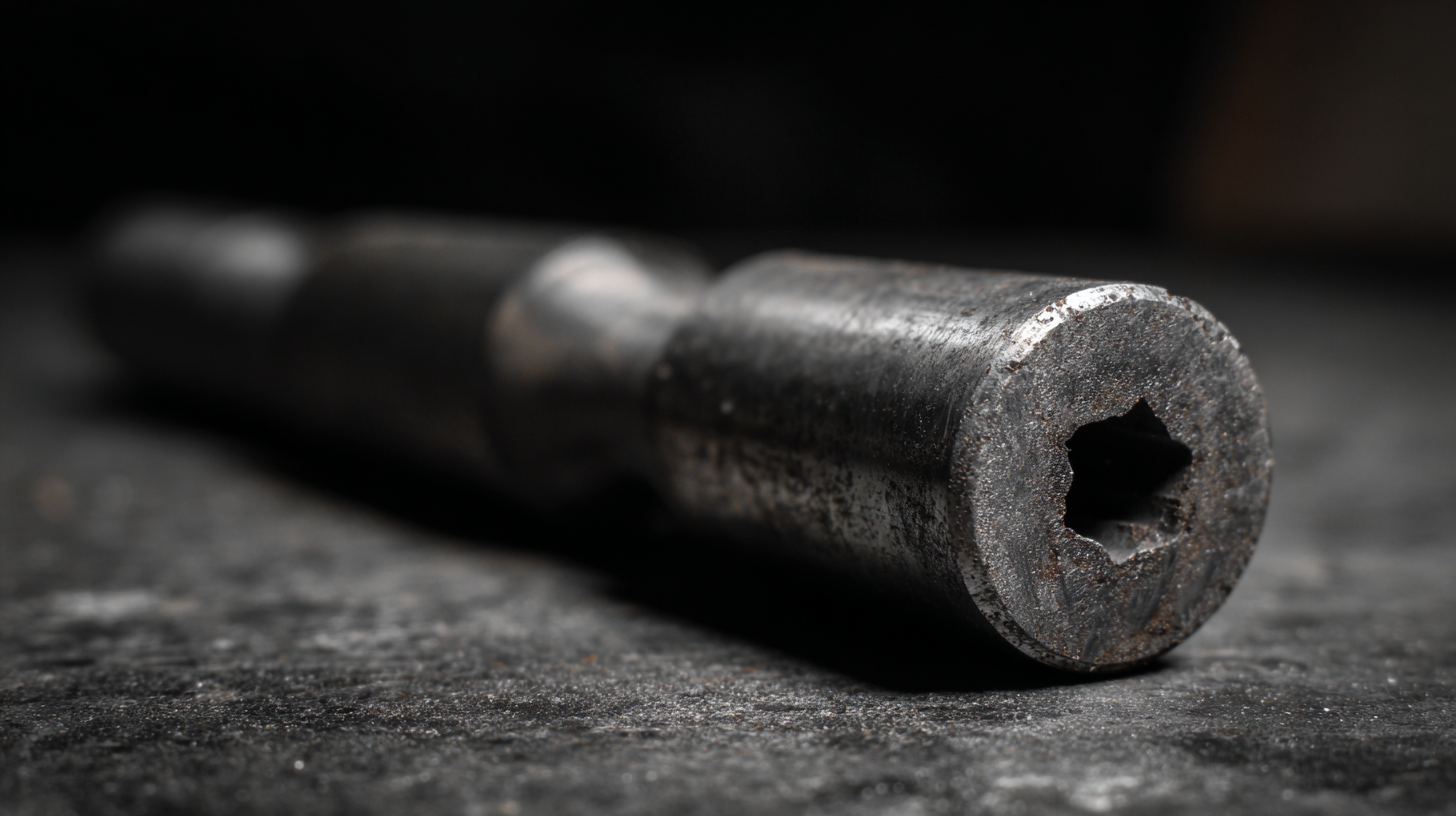
Post-Use Maintenance and Care for Your Wall Hole Saw
Maintaining your wall hole saw post-use is essential for achieving professional results and extending the lifespan of your tools. After using a wall hole saw, clean it thoroughly to remove any debris or residue that may have accumulated during the cutting process. This maintenance step is essential, as dirt and buildup can affect the tool’s precision and performance. According to industry reports, properly maintained tools can last up to 50% longer than those that are not cared for.
To keep your wall hole saw in optimal condition, lubricate the blades with a light machine oil after cleaning. This helps to prevent rust and wear, particularly if the saw will be stored for an extended period. Additionally, storing the saw in a dry, safe environment can further protect it from environmental damage.
**Tips:**
- Regularly inspect your wall hole saw for any signs of damage or dullness; replace it if necessary to ensure clean cuts.
- When not in use, cover the blade with a protective guard to prevent accidental damage or injury. Performing these maintenance steps creates the foundation for effective and efficient use of your wall hole saw on every project.
Usage and Maintenance of Wall Hole Saws